Showing posts with label tutorial. Show all posts

Wednesday, January 2, 2013

Tutorial: re-covering an Ikea footstool

We've recently reorganised our living room - we've made room in the study upstairs for some of John's trains and moved two of the bookcases downstairs. We moved the cabinet that was holding the boardgames upstairs, gave away several meters of unused books, and ended up with an extremely cosy nook in the living room (which John now refers to as The Library). It's not exactly Downton, but it'll do! 

So, in said Library, I found I was sitting in the armchair, but either dragging the one footstool over from the couch (which then mean that the boys don't have one for the couch), or not putting my feet up at all. (It's genetic, this feet-up business - my grandmother ALWAYS put her feet up. She also kept folded plastic bags on the top of her ottomans to protect them from her shoes. We wash the ottomans (and wear slippers in the house).

Anyway, a quest for a footstool for the Library had been ongoing for a while, and kicked into high gear once the rest of the furniture was settled. I had looked on the Ikea website and was looking at trying to recover the Poang footstool, but when we saw it in person on Sunday (yes, we braved Ikea between Christmas and New Year), it really wasn't doing anything for me.

I did, however, find the Solsta Pallbo. The cream one was out of stock (and I knew I was planning to re-cover it), so we bought the grey one. £14! Bargain!

Here it is, pre-hacking, all assembled.


This is the fabric I picked up at CallyCo in Cambridge over the summer - it's upholstery weight and looks like it's still available, here.


I draped it over the footstool to make sure I liked the idea, and then got started!


The (naked) footstool seemed a little sharp for my clumsy self, so I wrapped it in quilt batting scraps, using my handy-dandy staple gun.


All wrapped!


Then, I sketched the box, and marked the measurements on my diagram. Because the fabric really wouldn't have looked good upside-down, I decided to make a tube for the sides with a lid on the top. I added 1/2 inch for all the seams on all sides, and managed to use the width of my fabric to go 3/4 of the way around the box.


So, I cut two pieces that were width-of-fabric x 16" (height plus 1").


This is the "back", where the two seams are. I thought about having two equal-sized pieces, but decided that I'd give this footstool a definite "front" and "back."

Once I was sure the tube fit, I hemmed the bottom edge. I should have used a ruler and an iron - I just folded the edge over twice, and topstitched.


Here's the detail of the hem, inside-out:


Then, I put the tube on the footstool, wrong side out. I centered the "lid" on the top, wrong side facing out, but with the "front" the right way round (i.e. the top of the design at the same side as the seams).


I pinned and pinned and pinned some more. I made sure the top was reasonably tight (but that I hadn't pulled up the fabric from the floor, either) I really wasn't sure what to do with the corners, but guessed that I'd be able to ease around them. I was, with lots of extra pinning and slow sewing at the corners.


Ta-da! The fabric was fairly wide, so I only used two 16" strips for the whole thing (and have a few pieces left over).


Saturday, August 4, 2012

Tutorial: applique baby clothes

I'm making a baby quilt for my friend's imminent new arrival, and I had a few scraps of fabric left after making the quilt top. A few of them will go into making the back, but I wanted to make a few things to give to her at the baby shower, since I won't be delivering the quilt until after the baby's born.

I went to Mothercare and bought a mixed "starter pack" of plain white baby clothes, size 0-3 months. I can't find the link to the exact pack online, but the one I bought had a little shirt, a onesie, two sleep suits, a hat, two pairs of baby mittens, and a bib. FYI, this set should come with a health warning. Caution: may cause irrational "OHMYGOD that's so TINY! And so CUTE!" moments, especially after prewashing and when hanging on the line.

Anyway, be careful.

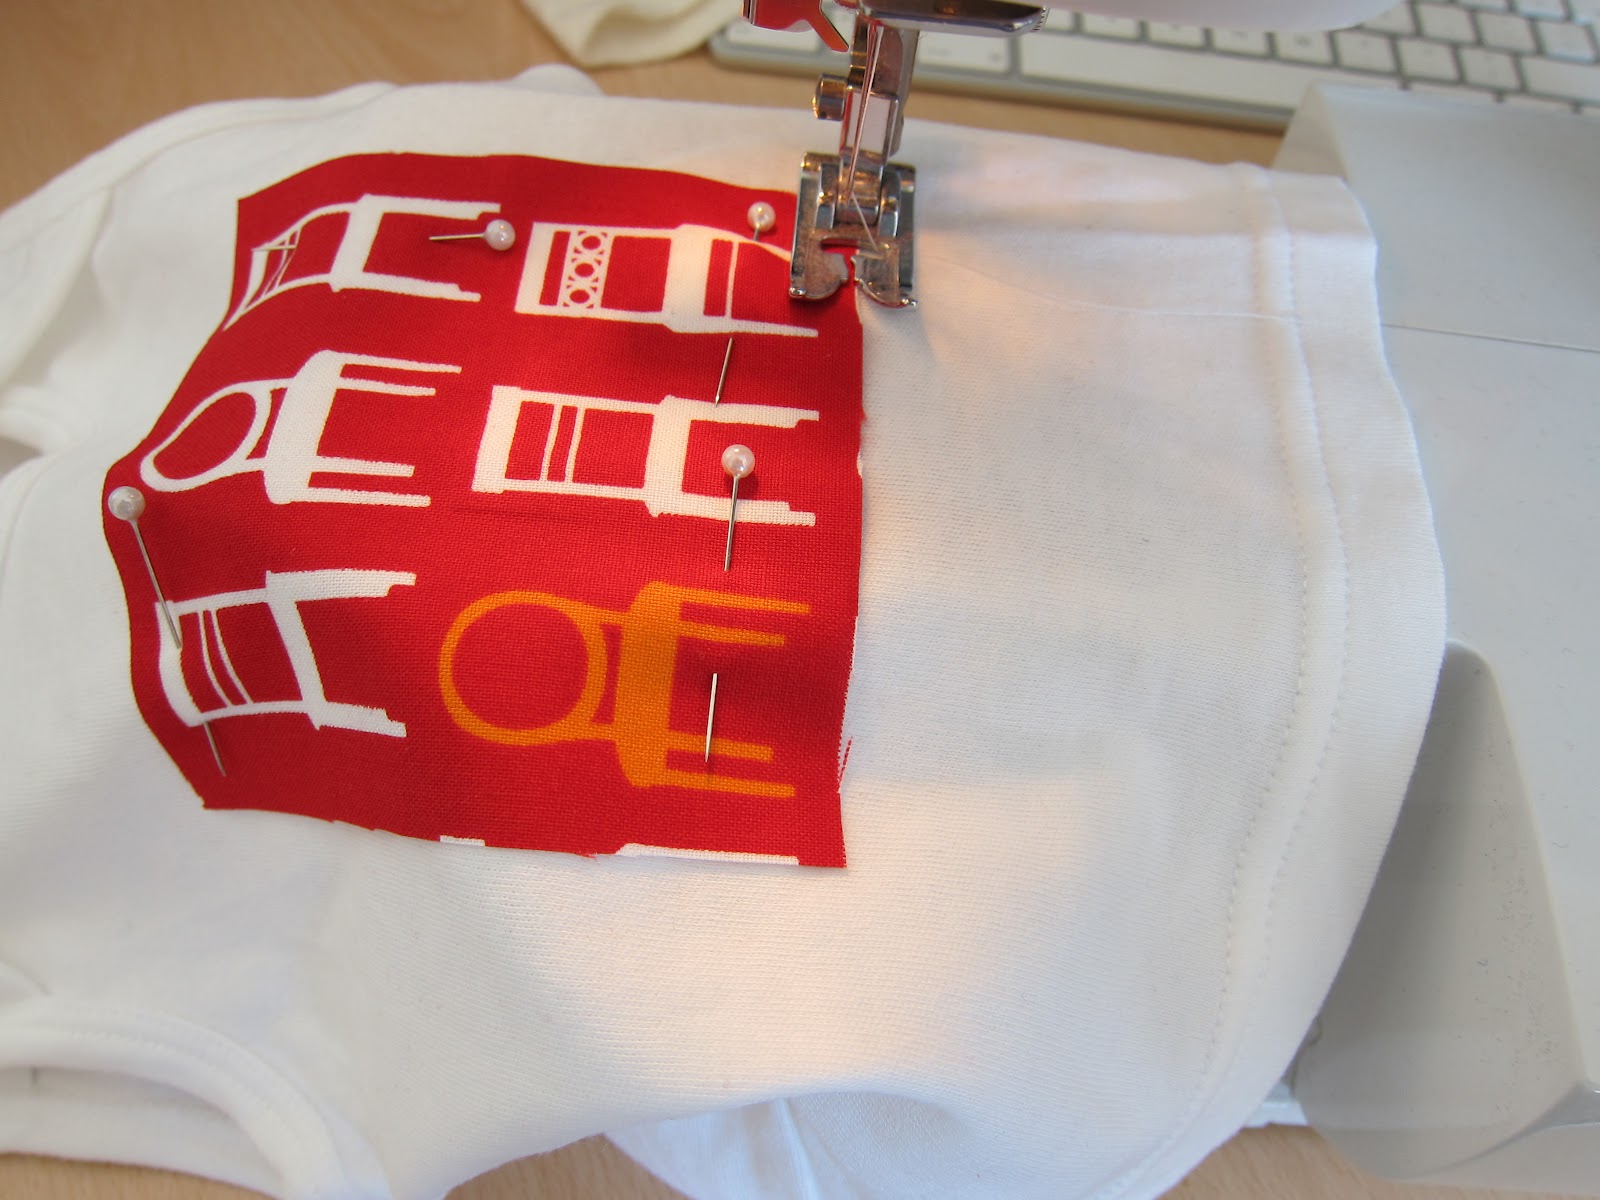
After my heart rate returned to normal, I fussy-cut some of the Tufted Tweets (I think this one is called Itty Bitty Chairs, colour Sorbet.) I pinned the chairs to the middle of the shirt, then fired up the sewing machine. 


Because the shirt was so small (see issues, above), I removed the cover on my sewing machine's base (I think you're supposed to do this for sleeves). I set the stitch length to 1 (at the long end of my buttonhole setting) and picked the medium-width zigzag.


Off we go! In the corners, I went all the way until the needle was at the edge of the corner on the outside (the bottom right in the picture above), before I turned the shirt with the needle down and kept on going.


Ta-da! All finished. I overlapped the beginning and the end, then brought all the threads to the inside of the shirt where I knotted them and then snipped the ends. I snipped the threads hanging over on the front of the shirt, and it was ready to go. The whole thing took about 15 minutes. I'm definitely going to keep a stash of onesies for quick baby gifts. LOVE them.


I had such fun making it, I made a second one. And then put the first one on Flickr, where Laurie Wisbrun (who designed Tufted Tweets) commented on it. Squee!


And then wrapped them up with a red ribbon and put them in the mail!


Saturday, April 28, 2012

Tutorial: re-covering chair seats

We bought six chairs with our kitchen table when we moved in to our house, 5 years ago. The chairs are wooden and very sturdy, but I never really liked the seat covers. Cream-coloured ultrasuede, you say? In a house with a teenager and people who eat a lot of spaghetti? YUM.

I'd had my eye out for some good fabric to re-cover the seats for quite a while. My mom and I found an enormous fabric warehouse in New Jersey on the way back from visiting my aunt, where we picked up 3 yards of this blue, green and yellow (on a cream background...I need my head examined) upholstery fabric.


During Kate & Mom Week 2012 (recently concluded), we tackled the project. It could probably have been done in a day, but we spread it across about a week, which I think prevented blisters and backache!

Materials (for 6 chairs):
-3 yards of fabric (we had some left over)
-screwdrivers (to unscrew the seats from the chairs AND to remove the old staples)
-pliers (to remove the old staples)
-a staple gun
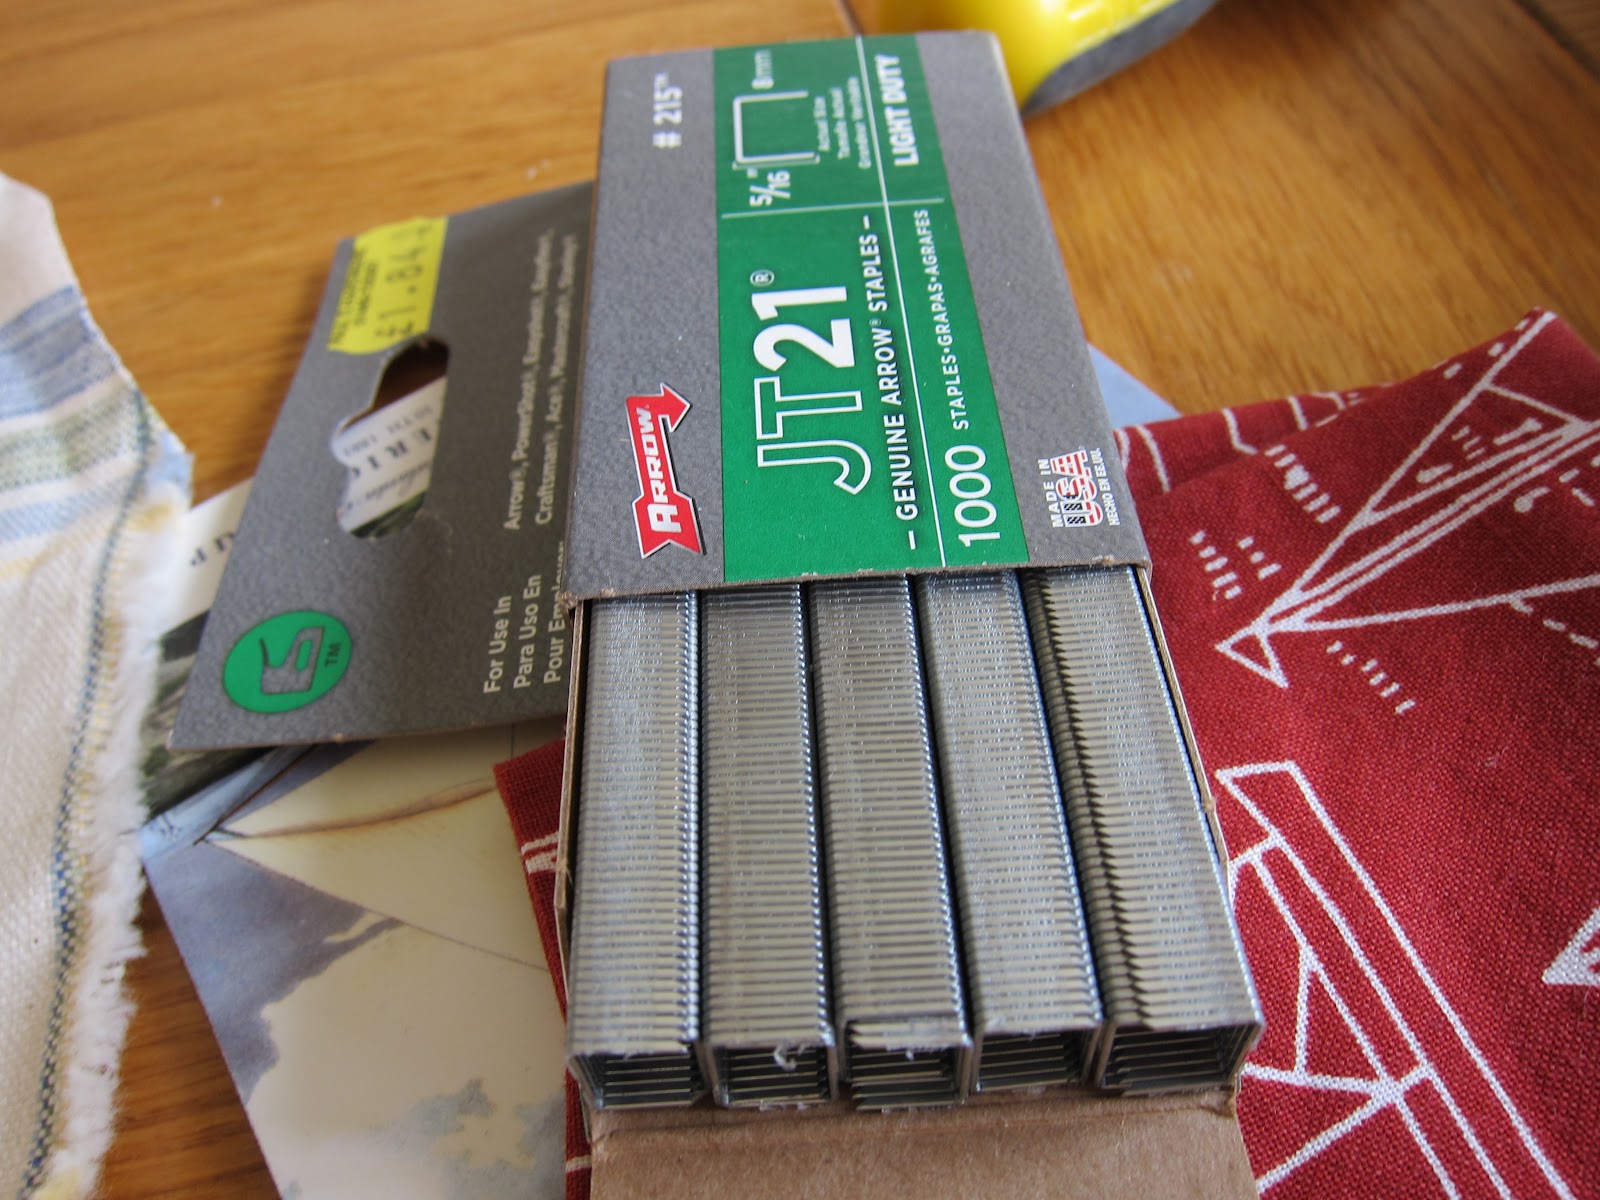
-staples to go with the staple gun
-a hammer (to bash in any reluctant staples)
-tracing paper for the pattern (optional) + pencil
-something to hold the pattern or old cover down with
-clean towel


We started out by removing the seats from three of the chairs (we didn't want to get stuck mid-project and leave nowhere to sit...)


Once they were off, we removed the staples from the covering fabric (a lightweight gauze-y thing to keep the seams tidy). Then we started on the staples.


They were BEASTLY staples. Two of the chairs must have had someone with a new shiny staple gun, since instead of the normal -  -  -  -  - pattern, we had |||||||////||||||----|||\\\\\. Thanks, dude, that was SUPER fun.

Once we had all the staples out, we took the old covers off, checked the foam (which was good enough to re-use on 5 of the 6 chairs), and then we used my pattern tracing paper to trace around the old covers to create our pattern. For the one chair with crumbling foam, I went to The Foam Shop (thank you, internets) in Ipswich with the offending piece and the rest of the seat and they cut a new foam seat for me.


After cutting it out, we weighted the pattern down on the fabric, wrong-side up. Pros use pattern weights. We co-opted some coasters along with the tv, dvd and skybox remotes. Oh, and some dice. What? They held the pattern down just fine.


Then, we put a towel down on the kitchen table (just in case). We laid the fabric down wrong-side up, with the fabric for the front of the chair closest to us. We then put the seat down, front of the chair closest to us, also wrong-side up. We checked the fabric to make sure the stripes were evenly spaced across the chair base and wouldn't run slonchwise across the seat, and then pulled the front piece up and onto the fiberboard base.


Kerplonk with the staple gun.


Second staple went in at the back of the chair, directly across from the first staple. Then, after pulling the fabric tight, we stapled one staple into each side. There are YouTube and Instructables videos in case I'm being confusing...


We picked up the seat and inspected for wonky-ness and puckers, and if it was all fine, kept going.

For the corners, I made little pleats. Any staples that didn't quite go all the way in (like that one down there) got a whack from the hammer.


Last step was re-attaching the covering fabric, and then screwing the seats back on to the chairs.


My mom's tips (she's done a LOT of these...):
-keep the fabric stretched TIGHT
-if you get a crinkle, take the offending staples out and start over
-don't staple your fingers to the seat
-start in the middle of each side and work outwards, evenly, like this:
-  -  -
then
-  -  -  -  -  -  -  -  
then rotate to another side and repeat

Ta-da! We were super-pleased with how well they turned out. Don't they look happy, all together?


Thanks for all your help, Mom!