Showing posts with label crafts. Show all posts

Thursday, May 9, 2013

Buttercream and Bunting

My mom arrived for her annual English Week on her birthday. So, while she was napping after her red-eye flight, I made some cupcakes with her favourite (buttercream!) frosting.

I used this chocolate fudge cupcake recipe (and overfilled the cakes slightly), and this buttercream recipe (with vanilla added).


The cupcakes were super-chocolatey and not too sweet.


And the buttercream was delicious (vanilla, sugar and butter...what's not to like!?)


Our random entertaining activity this time (in the past, we've Delia'd and screenprinted fabric) was making Bunting at Halfpenny Home in Needham Market. Nicola and I have been twitter-buddies for a while, and I randomly pop in when I need buttons/fabric/etc. Side note: hers was the angora yarn that was beautifully soft but that filled the airplane with fluff when I went to NY in February.

My mom was initially skeptical. They don't really DO bunting in New York. I pointed out that she could make some in colours to match their boat, and she perked up. I gave Nicola a general idea of what we might be using in terms of colour schemes, and she managed to scrounge up a surprising amount of orange fabric!

We ended up doing the workshop with Nic and her mum, who was making (gorgeous) bunting for a summerhouse.

Here's some free-motion embroidery practice:


Here's my pile of fabrics:


Nic made a pear and ginger cake and some lemon tarts. YUMSTERS.


We spent the whole day either sewing and concentrating or laughing. This one was both!


More concentration:


The combination of top-stitching the red polkadot fabric and union flag bunting was making me somewhat dizzy.


Finished!


All three of us with our creations - they came out SO well and we had a blast. There are still workshops to come on the schedule - I'd highly recommend booking one!


Monday, April 22, 2013

LL Bean tote bag improvement

On one of my trips along the Maine 'pike to Waterville via Freeport a zillion years ago, I stopped at the LL Bean outlet to see what they had. I found a small navy blue tote bag with my mom's name embroidered on it, so I had to buy it. I couldn't tell why it had been returned - it looked fine. Normally there's a spelling mistake or the font is wrong or something.

Anyway, my mom said that she didn't need it, so I got out the seam ripper and picked out the stitching. The bag always looked cute, just a little raggedy where the embroidery had been.

And then.

I found this little guy that John bought me a year or so ago (I don't remember where).

I bleached the stains (it's a 10-year-old white bag) and washed the bag.


When the bag came out of the washer, I reshaped it and ironed it on hot (it's canvas and can take it).

When the front panel was mostly dry, I ironed on Mr. Sheep, following his care instructions, right over the raggedy part.


New bag! I think he's happy there, don't you?


I had no idea how hard it was to iron canvas. That stuf is wrinkly. And stays wrinkly.

Saturday, August 4, 2012

Tutorial: applique baby clothes

I'm making a baby quilt for my friend's imminent new arrival, and I had a few scraps of fabric left after making the quilt top. A few of them will go into making the back, but I wanted to make a few things to give to her at the baby shower, since I won't be delivering the quilt until after the baby's born.

I went to Mothercare and bought a mixed "starter pack" of plain white baby clothes, size 0-3 months. I can't find the link to the exact pack online, but the one I bought had a little shirt, a onesie, two sleep suits, a hat, two pairs of baby mittens, and a bib. FYI, this set should come with a health warning. Caution: may cause irrational "OHMYGOD that's so TINY! And so CUTE!" moments, especially after prewashing and when hanging on the line.

Anyway, be careful.

After my heart rate returned to normal, I fussy-cut some of the Tufted Tweets (I think this one is called Itty Bitty Chairs, colour Sorbet.) I pinned the chairs to the middle of the shirt, then fired up the sewing machine. 


Because the shirt was so small (see issues, above), I removed the cover on my sewing machine's base (I think you're supposed to do this for sleeves). I set the stitch length to 1 (at the long end of my buttonhole setting) and picked the medium-width zigzag.


Off we go! In the corners, I went all the way until the needle was at the edge of the corner on the outside (the bottom right in the picture above), before I turned the shirt with the needle down and kept on going.


Ta-da! All finished. I overlapped the beginning and the end, then brought all the threads to the inside of the shirt where I knotted them and then snipped the ends. I snipped the threads hanging over on the front of the shirt, and it was ready to go. The whole thing took about 15 minutes. I'm definitely going to keep a stash of onesies for quick baby gifts. LOVE them.


I had such fun making it, I made a second one. And then put the first one on Flickr, where Laurie Wisbrun (who designed Tufted Tweets) commented on it. Squee!


And then wrapped them up with a red ribbon and put them in the mail!


Saturday, May 5, 2012

Making, to follow

I found this fabric at CallyCo in Cambridge when we were there a few weeks ago. I'm not sure what it's going to be, yet. It's quite large-scale - the seaside tents are about 4 inches tall.


In some unrelated sewing, my mom brought the Lisette Diplomat pattern that I had ordered. I'm going to start with some plain green cotton that I've had in my stash for years, and then see how the fit works before I cut into the bicycles. There was also some very cute navy polka dot cotton at Halfpenny Home a few weeks ago - I need to go back and get it!


And in the tradition of my mom filling her suitcase with Real Simple, here they are. Two issues, along with a Food Network magazine and a Real Simple recipe book. Thanks, MOM!


Saturday, April 28, 2012

Tutorial: re-covering chair seats

We bought six chairs with our kitchen table when we moved in to our house, 5 years ago. The chairs are wooden and very sturdy, but I never really liked the seat covers. Cream-coloured ultrasuede, you say? In a house with a teenager and people who eat a lot of spaghetti? YUM.

I'd had my eye out for some good fabric to re-cover the seats for quite a while. My mom and I found an enormous fabric warehouse in New Jersey on the way back from visiting my aunt, where we picked up 3 yards of this blue, green and yellow (on a cream background...I need my head examined) upholstery fabric.


During Kate & Mom Week 2012 (recently concluded), we tackled the project. It could probably have been done in a day, but we spread it across about a week, which I think prevented blisters and backache!

Materials (for 6 chairs):
-3 yards of fabric (we had some left over)
-screwdrivers (to unscrew the seats from the chairs AND to remove the old staples)
-pliers (to remove the old staples)
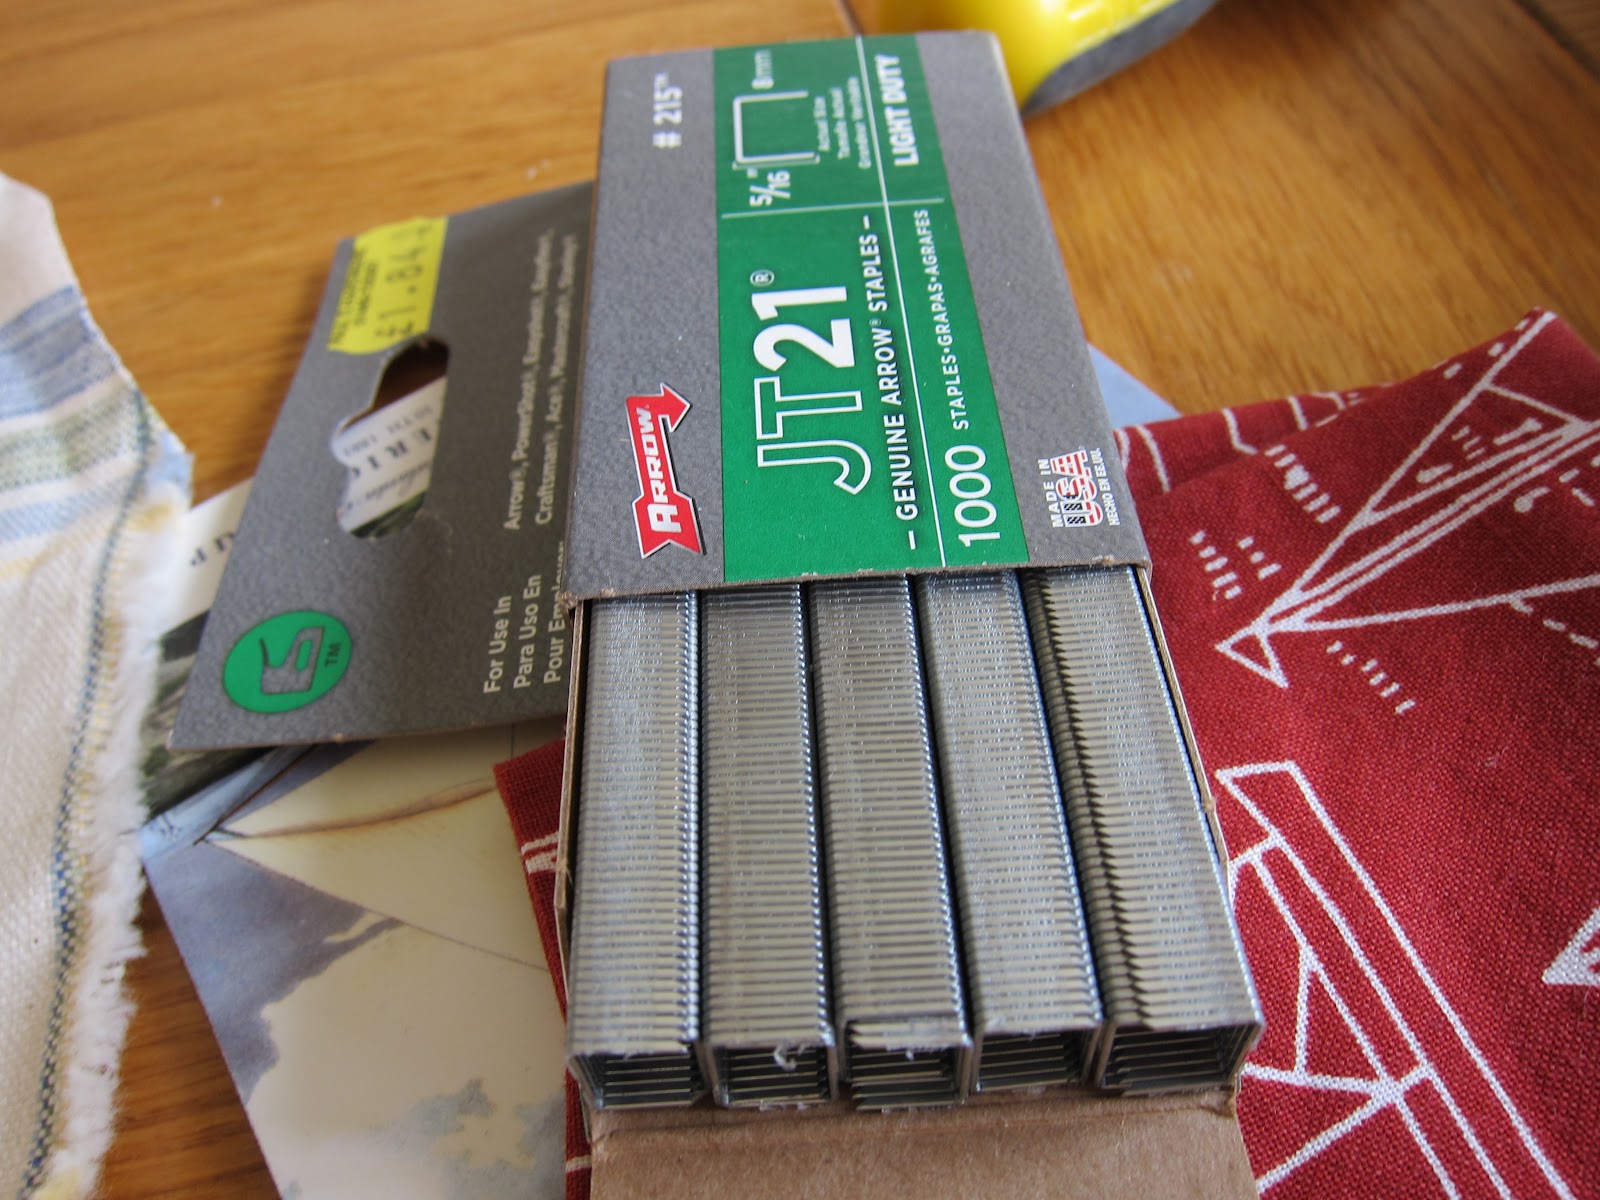
-a staple gun
-staples to go with the staple gun
-a hammer (to bash in any reluctant staples)
-tracing paper for the pattern (optional) + pencil
-something to hold the pattern or old cover down with
-clean towel


We started out by removing the seats from three of the chairs (we didn't want to get stuck mid-project and leave nowhere to sit...)


Once they were off, we removed the staples from the covering fabric (a lightweight gauze-y thing to keep the seams tidy). Then we started on the staples.


They were BEASTLY staples. Two of the chairs must have had someone with a new shiny staple gun, since instead of the normal -  -  -  -  - pattern, we had |||||||////||||||----|||\\\\\. Thanks, dude, that was SUPER fun.

Once we had all the staples out, we took the old covers off, checked the foam (which was good enough to re-use on 5 of the 6 chairs), and then we used my pattern tracing paper to trace around the old covers to create our pattern. For the one chair with crumbling foam, I went to The Foam Shop (thank you, internets) in Ipswich with the offending piece and the rest of the seat and they cut a new foam seat for me.


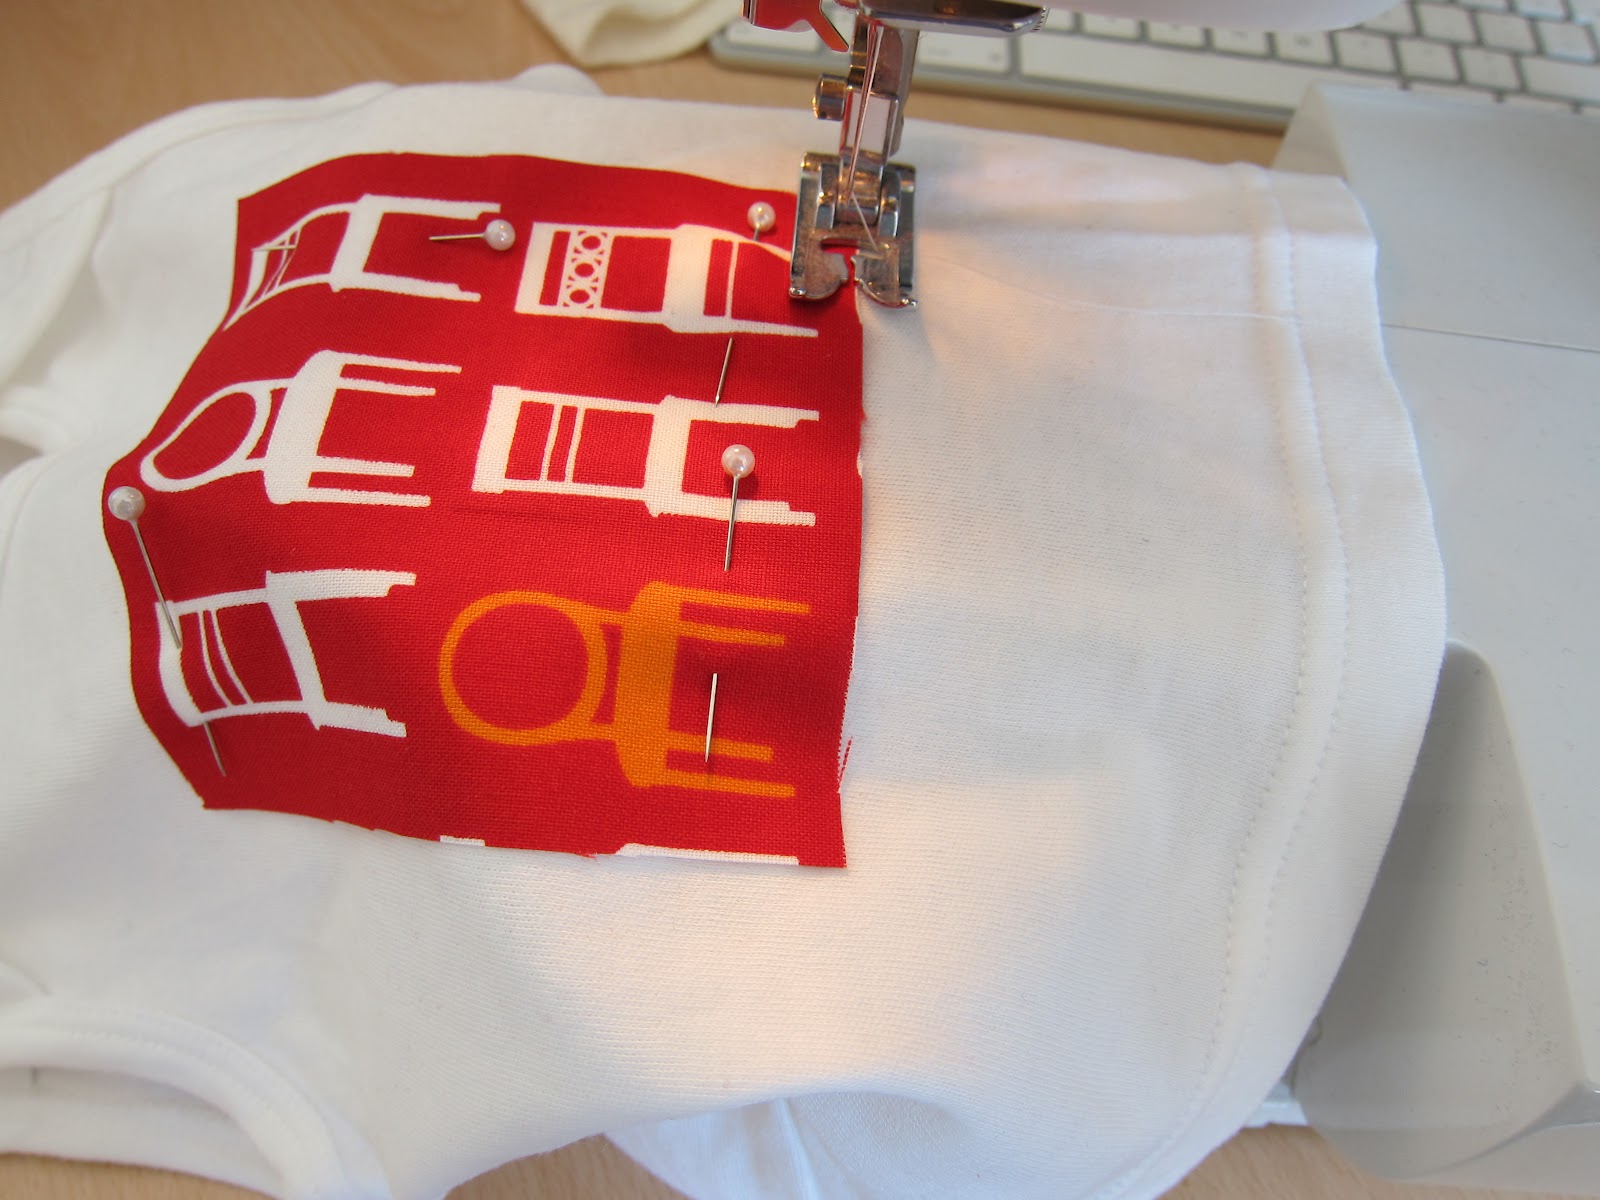
After cutting it out, we weighted the pattern down on the fabric, wrong-side up. Pros use pattern weights. We co-opted some coasters along with the tv, dvd and skybox remotes. Oh, and some dice. What? They held the pattern down just fine.


Then, we put a towel down on the kitchen table (just in case). We laid the fabric down wrong-side up, with the fabric for the front of the chair closest to us. We then put the seat down, front of the chair closest to us, also wrong-side up. We checked the fabric to make sure the stripes were evenly spaced across the chair base and wouldn't run slonchwise across the seat, and then pulled the front piece up and onto the fiberboard base.


Kerplonk with the staple gun.


Second staple went in at the back of the chair, directly across from the first staple. Then, after pulling the fabric tight, we stapled one staple into each side. There are YouTube and Instructables videos in case I'm being confusing...


We picked up the seat and inspected for wonky-ness and puckers, and if it was all fine, kept going.

For the corners, I made little pleats. Any staples that didn't quite go all the way in (like that one down there) got a whack from the hammer.


Last step was re-attaching the covering fabric, and then screwing the seats back on to the chairs.


My mom's tips (she's done a LOT of these...):
-keep the fabric stretched TIGHT
-if you get a crinkle, take the offending staples out and start over
-don't staple your fingers to the seat
-start in the middle of each side and work outwards, evenly, like this:
-  -  -
then
-  -  -  -  -  -  -  -  
then rotate to another side and repeat

Ta-da! We were super-pleased with how well they turned out. Don't they look happy, all together?


Thanks for all your help, Mom!

Friday, April 27, 2012

Screen Printing at Fruit Farm Fabrics

I was talking about craft blogs with one of my colleagues, and he mentioned that I should check out his wife's site, Fruit Farm Fabrics.

I love her designs, especially the small apples, and suggested to my Mom that it would be a fun day out during her Suffolk 2012 trip.

She wholeheartedly agreed, and we signed up for a class.

We arrived at Caroline's home (attached to her workshop and studio) at around 9:30, had coffee (and more millionaire's shortbread than I'm willing to admit to), and went through to her studio. I covet her studio. Big, bright windows looking over the garden, a big table for working, lots of crafty books, and a  computer-design nook with her scanner and computer. It was a drizzly overcast day and it was still really bright in there.

Here are some of her fabric designs, mounted on the wall (such a good idea!):


My mom used the window as a lightbox to trace her design:


Here's her final design, ready for tracing with the sticky-back plastic:


And my design, with input from Caroline on leaving a border around the sheep to give myself a margin for error (aka creative wonkyness) when printing.


We then cut out plastic templates for each of our screens. We both had three colours - I used green for the background, brown for some of the sheep and the border, and black for a sheep and the noses and legs. My mom used bright red, bright blue, and brown.

Here are my mom and Caroline, printing!


That's concentration:


Here's my mom's design, after the first colour. I LOVE how the horse is really moving.


And here's mine, after the first printing. Slightly more abstract!


After this first printing, it was about 1, and we were ravenous. Fabric printing and design is quite a bit more exhausting than I expected. Luckily, Caroline had prepared a delicious lunch (soup and crusty bread with salad, ham and cheese), and after slightly more wine than would be advisable given the exacting nature of the second round of screen printing, we carried on.

Here's the final shot of mine. I LOVE how it turned out. The grand plan is to take Class 2 and upload it to a fabric printing site (like Spoonflower). I've also just received my copy of Mastering The Art Of Fabric Printing and Design, by Laurie Wisbrun of Tufted Tweets fame.


Watch out world, here we come! I'd highly recommend a day at Fruit Farm Fabrics to anyone interested in fabric design or just in having a really fun day out. Top tip: we brainstormed ideas before we got there, then showed them to Caroline, who guided us towards the ones that would work best for screen printing. It meant that we got quite a bit more done in a day than we had expected.

P.S. This post was NOT sponsored - we just had a such great time that I figured my fellow crafty (and less-crafty) peeps would appreciate hearing about it!

Sunday, January 15, 2012

Things I made recently

When we were in Holland, I picked up the parts for a camera necklace (arranged neatly, below). Green leather cord (it's more of a forest green in real life), and a little camera charm. LOVE.


This fabric had been sitting in my "make it already!" pile since I bought it back in September in Rhode Island (at Joann's, of all places). They were destined to be napkins. So now there are 6. And they're cute. They may need a little ironing.


And then I went a little nuts with the Muckle Mitts Ravelry pattern and customised it. I like it better than the "real" pattern. The only irritating thing has been unwinding through the rest of the Mochi ball to find where the purple starts again so the mittens "match." Because I'm way too OCD to have unmatched mittens.

Ravelled, here.


Saturday, December 31, 2011

Look what I made, 2011 edition

Various crafty peeps have been adding "what I made" roundups to their blogs. 

[Jumps onto bandwagon]

Ta da! Look what I made in 2011! In retrospect, Gabi was the recipient of the majority of my crafty efforts. Two and a half dresses, two sweaters, and a tote bag. I guess everyone needs a toddler to make things for! The only crafted items still in our house are the two cowls (a third, same as the one in the 2nd row on the right) has been gifted to a choir friend whose daughter has appropriated it as a baby-sling just like mommy's for her doll. Might give her the other one, two, so mommy can actually wear it as a cowl!

Any suggestions for a mosaic-creator would be appreciated - this was bodged into Pages, then exported as pdf, then screen-shot so I could upload the jpg to blogger. Workaround, much? Or, HEY blogger! Can we please upload pdfs to our blogs? Thanks!