Tuesday, May 1, 2012

British Larder and Aldeburgh

After reading that Cambridge blogger Lazy Giraffe drives an hour and a half all the way to Woodbridge from Cambridge to eat at The British Larder, it was added to my must-try list.


When my Mom (whose birthday is today - HAPPY BIRTHDAY MOM!) suggested a trip to the coast, I suggested this as an optimal lunch spot on the way. I was a little worried that it would be super-crowded on a Saturday lunchtime, but it was merely reasonably busy.

I ordered the pork tasting platter, below. Pork terrine, a pork & pickle salad thingy (in the little pot), homemade coleslaw, homemade piccalilli, the Best Scotch Egg Ever, a sausage roll, a mini-meatloaf, some exceedingly delicious bread, and a spring-greens salad. The scotch egg and the butter both had cracked pepper and just the right amount of sea salt on them. The whole thing was rather unbelievably delicious. I washed it down with some Broadside, obviously.


My mom had the ploughmans' lunch, which had cheese twists, homemade pickle, a boiled egg, really excellent ham, and a wedge of cheese, along with a sausage roll, bread, piccalilli, and salad like mine.


We really enjoyed ourselves and will be going back. If you're in the neighborhood (or even if you're not), I highly recommend it.

On our way to Aldeburgh, we stopped at Snape Maltings. The sky was rather dramatic (it had stopped raining, briefly)


We found out later that John had been sailing in the mega-rainstorm in this picture. Boy, was he wet:


A yellow tractor on Aldeburgh beach:


And a good rock.


Conversation before reaching this particular rock, as follows.

Kate (walking on Aldeburgh beach, home to about 100 zillion rocks) : Mom, keep your eye out and let me know if you find a good rock.
Mom: Um, what?!
Five minutes later
Kate: Aha! This is a great rock! (Crouches down to photograph above rock)
Mom: (Shakes head)

C'mon, you can't say that isn't a great rock!

Monday, April 30, 2012

Calzone, or Who Needs New York

Melissa Clark's columns in the dining section of the New York Times are inevitably funny, informative, and hungry-making.

Last week, not only did she make her own ricotta (swoon), but she made calzones. Since we frequently make pizza on Sunday nights, I decided that this week my pizza would be a calzone, according to MC's instructions.

Well. John made tomato sauce from scratch, which was delicious. He also made dough from scratch, in the Kitchenaid. 


His proportions for the dough for two pizzas are 350g "00" flour to 218g (weigh it!) lukewarm water, and a small packet of instant yeast. You can scale these up or down as needed. Add a desert-spoon of olive oil and several large pinches of salt. Mix together in a stand mixer or knead by hand until silky and awesome. Leave it to rise in a warmish place for about an hour and a half, until it doubles in size. If you poke it and it doesn't collapse but the dimple stays, it's perfect. Do NOT knock it back.

For pizza:
Roll it out with a rolling pin, and put it on a floured tray, then add your toppings (not too many), and put it on a pizza stone in the oven heated as high as it will go, until it's bubbling and crispy.

For Melissa Clark's calzone of awesomeness:
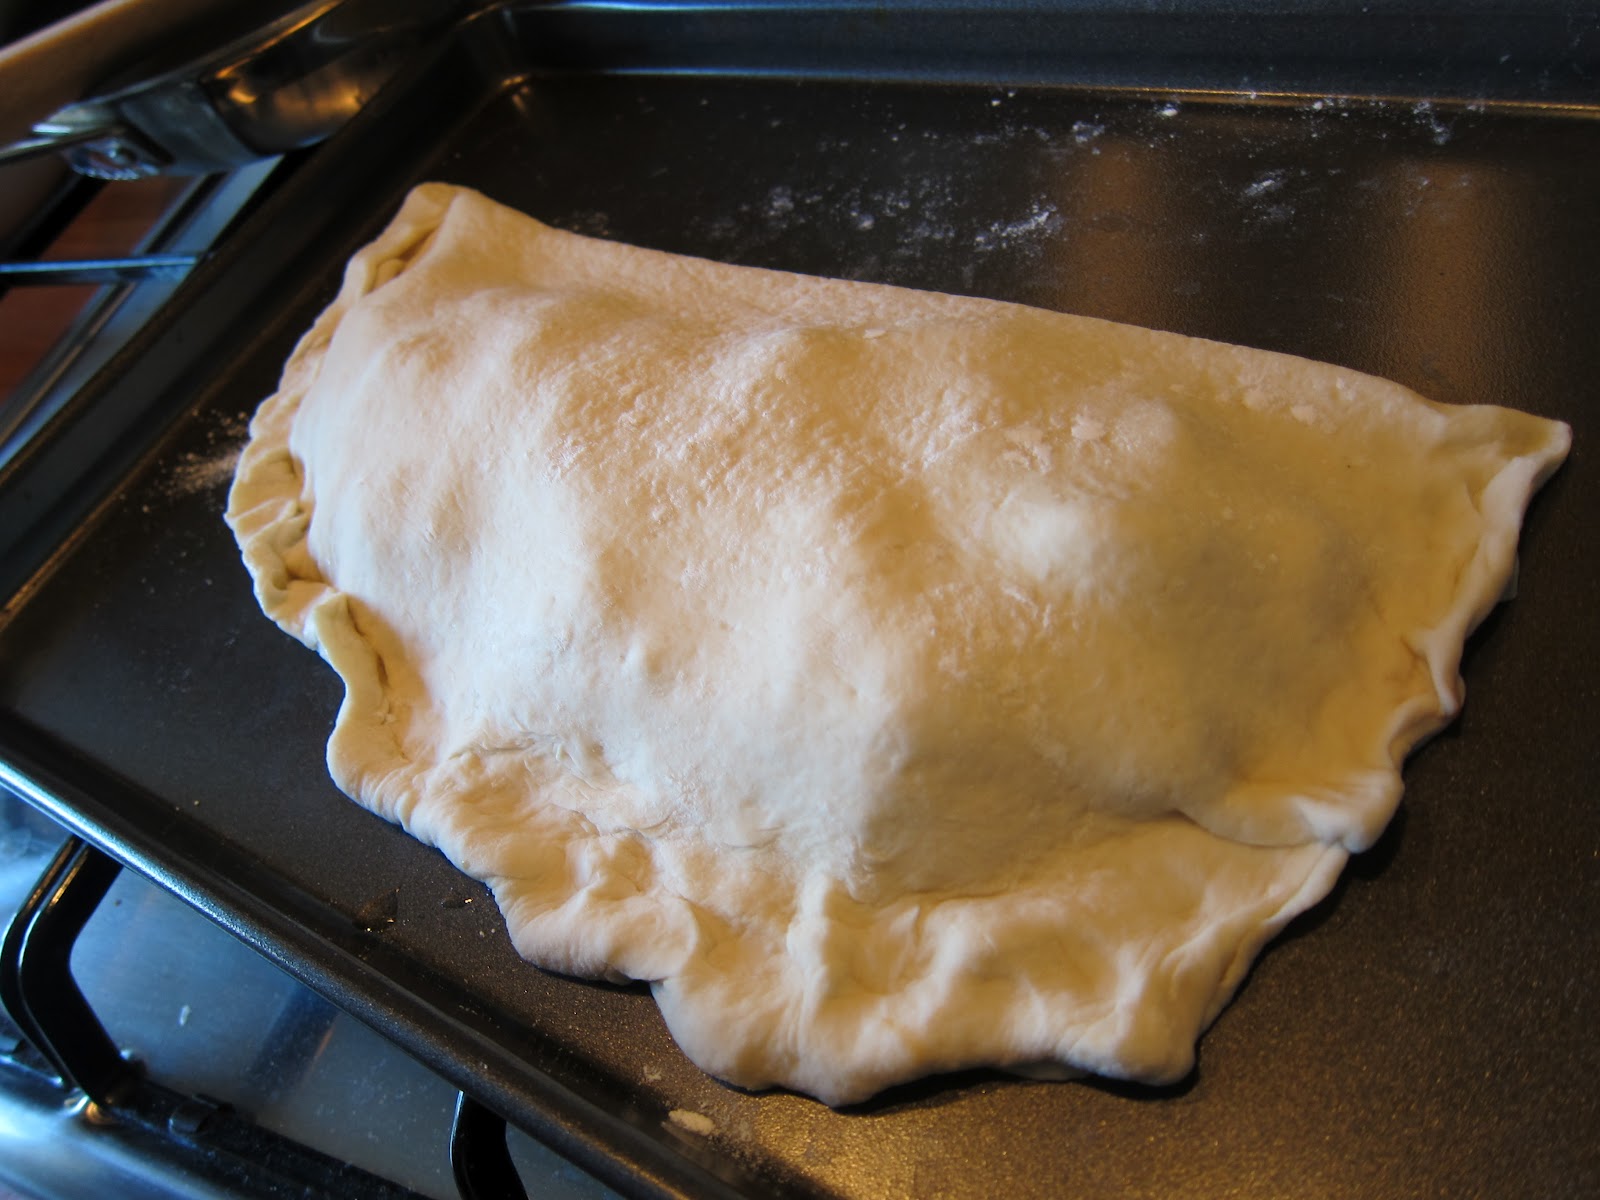
Roll it out until it's about 12" in diameter. Smear a little bit of tomato sauce on the bottom (she didn't; I did, it rocked). Add mozzarella, ricotta, some sauteed spinach, and sun-dried tomatoes). 


Use your finger to dab water around the edge of the calzone, then fold over and pinch closed. Brush the top with olive oil (or drizzle it on and smear it with your mitts if you can't find the pastry brush, gosh darn it).


Bake in the oven at super-high (ours was at 350C, the highest it will go) until it's golden and crispy and sounds hollow when you take it out and knock on it. Mine was in the oven for about 15 minutes.


Shut up. Who needs New York? This was the best calzone I've ever tasted. And I was a pig and ate the whole thing. Along with two lactose pills.


Special thanks to the Husband for making such awesome pizza dough.

Saturday, April 28, 2012

Tutorial: re-covering chair seats

We bought six chairs with our kitchen table when we moved in to our house, 5 years ago. The chairs are wooden and very sturdy, but I never really liked the seat covers. Cream-coloured ultrasuede, you say? In a house with a teenager and people who eat a lot of spaghetti? YUM.

I'd had my eye out for some good fabric to re-cover the seats for quite a while. My mom and I found an enormous fabric warehouse in New Jersey on the way back from visiting my aunt, where we picked up 3 yards of this blue, green and yellow (on a cream background...I need my head examined) upholstery fabric.


During Kate & Mom Week 2012 (recently concluded), we tackled the project. It could probably have been done in a day, but we spread it across about a week, which I think prevented blisters and backache!

Materials (for 6 chairs):
-3 yards of fabric (we had some left over)
-screwdrivers (to unscrew the seats from the chairs AND to remove the old staples)
-pliers (to remove the old staples)
-a staple gun
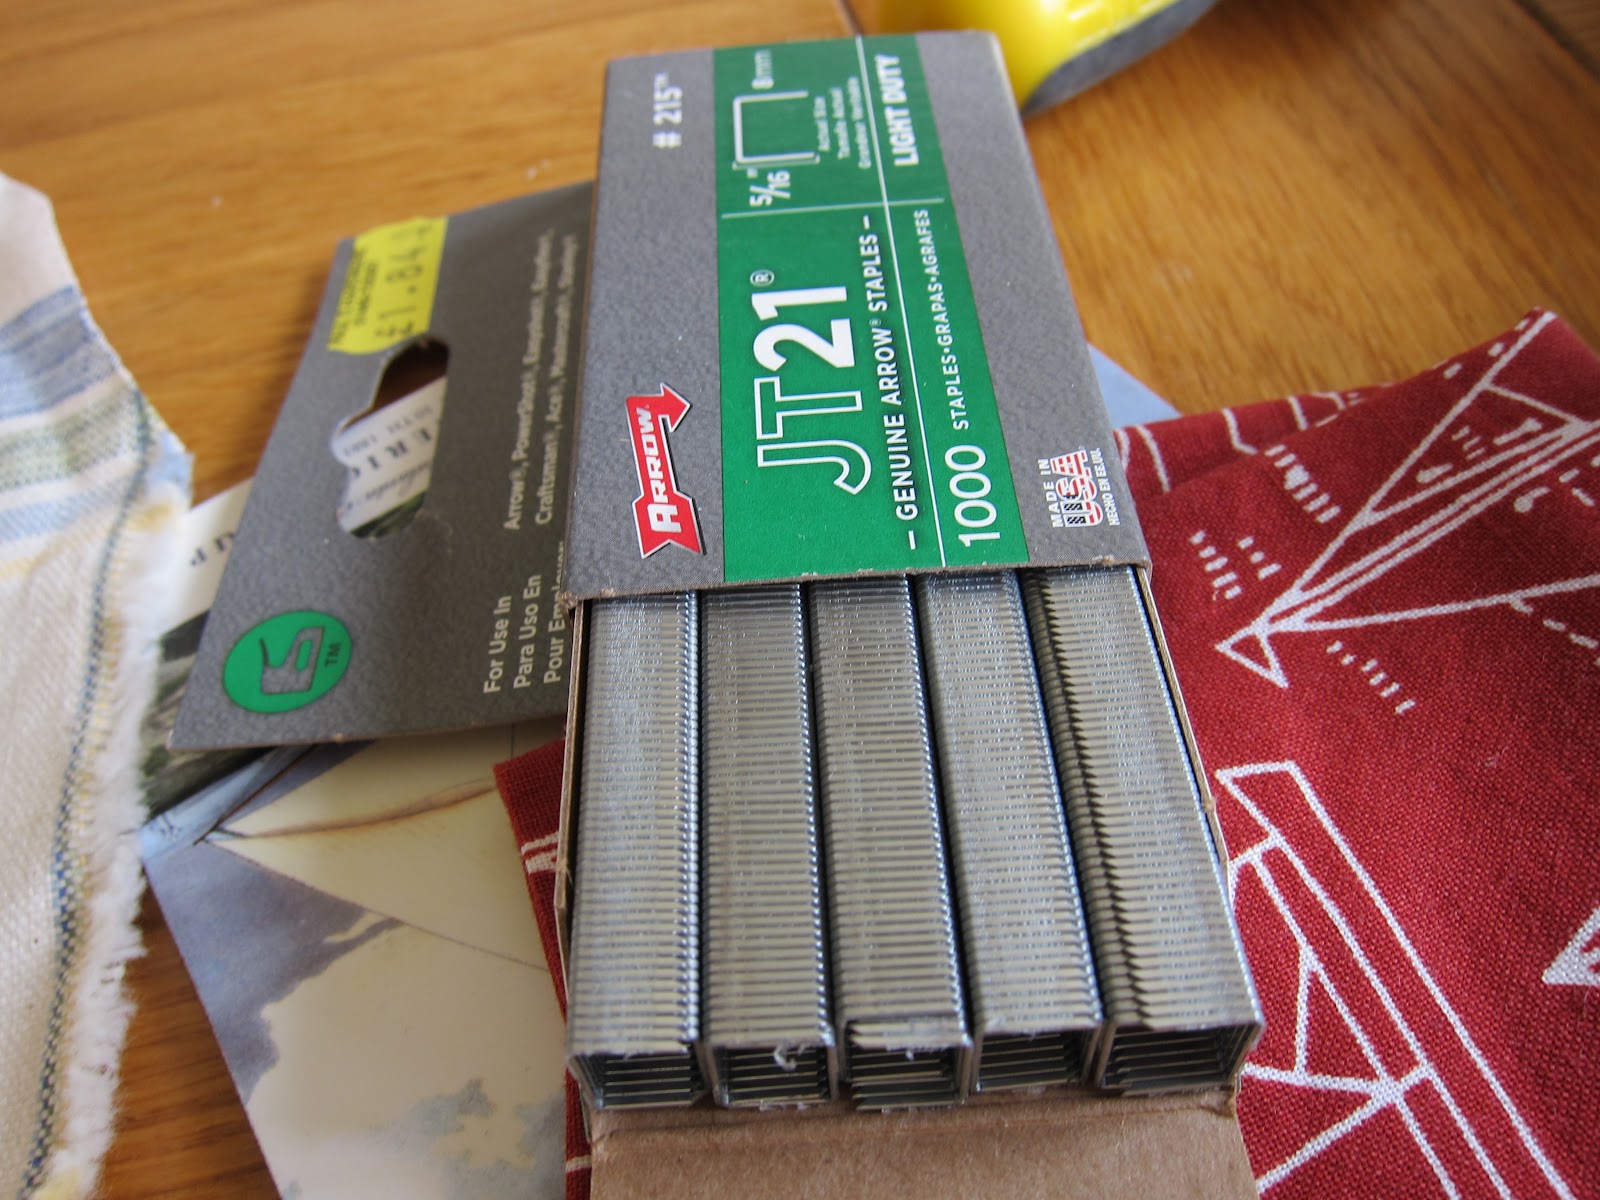
-staples to go with the staple gun
-a hammer (to bash in any reluctant staples)
-tracing paper for the pattern (optional) + pencil
-something to hold the pattern or old cover down with
-clean towel


We started out by removing the seats from three of the chairs (we didn't want to get stuck mid-project and leave nowhere to sit...)


Once they were off, we removed the staples from the covering fabric (a lightweight gauze-y thing to keep the seams tidy). Then we started on the staples.


They were BEASTLY staples. Two of the chairs must have had someone with a new shiny staple gun, since instead of the normal -  -  -  -  - pattern, we had |||||||////||||||----|||\\\\\. Thanks, dude, that was SUPER fun.

Once we had all the staples out, we took the old covers off, checked the foam (which was good enough to re-use on 5 of the 6 chairs), and then we used my pattern tracing paper to trace around the old covers to create our pattern. For the one chair with crumbling foam, I went to The Foam Shop (thank you, internets) in Ipswich with the offending piece and the rest of the seat and they cut a new foam seat for me.


After cutting it out, we weighted the pattern down on the fabric, wrong-side up. Pros use pattern weights. We co-opted some coasters along with the tv, dvd and skybox remotes. Oh, and some dice. What? They held the pattern down just fine.


Then, we put a towel down on the kitchen table (just in case). We laid the fabric down wrong-side up, with the fabric for the front of the chair closest to us. We then put the seat down, front of the chair closest to us, also wrong-side up. We checked the fabric to make sure the stripes were evenly spaced across the chair base and wouldn't run slonchwise across the seat, and then pulled the front piece up and onto the fiberboard base.


Kerplonk with the staple gun.


Second staple went in at the back of the chair, directly across from the first staple. Then, after pulling the fabric tight, we stapled one staple into each side. There are YouTube and Instructables videos in case I'm being confusing...


We picked up the seat and inspected for wonky-ness and puckers, and if it was all fine, kept going.

For the corners, I made little pleats. Any staples that didn't quite go all the way in (like that one down there) got a whack from the hammer.


Last step was re-attaching the covering fabric, and then screwing the seats back on to the chairs.


My mom's tips (she's done a LOT of these...):
-keep the fabric stretched TIGHT
-if you get a crinkle, take the offending staples out and start over
-don't staple your fingers to the seat
-start in the middle of each side and work outwards, evenly, like this:
-  -  -
then
-  -  -  -  -  -  -  -  
then rotate to another side and repeat

Ta-da! We were super-pleased with how well they turned out. Don't they look happy, all together?


Thanks for all your help, Mom!

Friday, April 27, 2012

Screen Printing at Fruit Farm Fabrics

I was talking about craft blogs with one of my colleagues, and he mentioned that I should check out his wife's site, Fruit Farm Fabrics.

I love her designs, especially the small apples, and suggested to my Mom that it would be a fun day out during her Suffolk 2012 trip.

She wholeheartedly agreed, and we signed up for a class.

We arrived at Caroline's home (attached to her workshop and studio) at around 9:30, had coffee (and more millionaire's shortbread than I'm willing to admit to), and went through to her studio. I covet her studio. Big, bright windows looking over the garden, a big table for working, lots of crafty books, and a  computer-design nook with her scanner and computer. It was a drizzly overcast day and it was still really bright in there.

Here are some of her fabric designs, mounted on the wall (such a good idea!):


My mom used the window as a lightbox to trace her design:


Here's her final design, ready for tracing with the sticky-back plastic:


And my design, with input from Caroline on leaving a border around the sheep to give myself a margin for error (aka creative wonkyness) when printing.


We then cut out plastic templates for each of our screens. We both had three colours - I used green for the background, brown for some of the sheep and the border, and black for a sheep and the noses and legs. My mom used bright red, bright blue, and brown.

Here are my mom and Caroline, printing!


That's concentration:


Here's my mom's design, after the first colour. I LOVE how the horse is really moving.


And here's mine, after the first printing. Slightly more abstract!


After this first printing, it was about 1, and we were ravenous. Fabric printing and design is quite a bit more exhausting than I expected. Luckily, Caroline had prepared a delicious lunch (soup and crusty bread with salad, ham and cheese), and after slightly more wine than would be advisable given the exacting nature of the second round of screen printing, we carried on.

Here's the final shot of mine. I LOVE how it turned out. The grand plan is to take Class 2 and upload it to a fabric printing site (like Spoonflower). I've also just received my copy of Mastering The Art Of Fabric Printing and Design, by Laurie Wisbrun of Tufted Tweets fame.


Watch out world, here we come! I'd highly recommend a day at Fruit Farm Fabrics to anyone interested in fabric design or just in having a really fun day out. Top tip: we brainstormed ideas before we got there, then showed them to Caroline, who guided us towards the ones that would work best for screen printing. It meant that we got quite a bit more done in a day than we had expected.

P.S. This post was NOT sponsored - we just had a such great time that I figured my fellow crafty (and less-crafty) peeps would appreciate hearing about it!

Saturday, April 21, 2012

New York Giants quilt: FINISHED!

Remember this quilt? You know, the New York Giants quilt for my uber-fan great aunt? Thought you did. Well it's all quilted, and has had its photo taken, and will be winging its way to New Jersey (via Boston, Rhode Island, and New York) with my mom when she goes home on Wednesday. 

Here it is, mid-quilting. The Giants fabric is from the wilds of the internets, the green is Kona Forest from Purl Soho, and the red, white and blue were from my stash. The red dots on the backing were from Ed's Rangers quilt, I think.


 Here is the back, taken at the British Larder, where we had an amazing lunch.


Here are a few outtakes from Snape Maltings (woo-wee, was it windy!)


Hold on to that quilt, Mom!


Ahh, perfection. Lovely quilt feet, too. I ended up straight-line quilting it (and not going over the NY with the quilting) in white on the yard lines and in between them, with my snazzy new walking foot. I took a little bit of artistic license with the number of yards - I think the field is only 75 yards long and rather skinny to actually play football on...


I hope she likes it (and that her Giants win the Super Bowl again in 2013)!

Wednesday, April 18, 2012

Sheep

I am the proud owner of this sheep patch. Found by Husband in the John Lewis haberdashery department. Now, to stealthily embroider it onto an unsuspecting garment...


Saturday, April 14, 2012

A week's worth of ringing (with cake)

On Easter Monday I joined a group attempting four quarter-peals across the day. I joined them at lunchtime and was involved in the two afternoon attempts. We scored the quarter of Kent (my first attempt at a quarter of Kent and my first time ringing it without a minder!), but then missed the quarter of Grandsire Triples. Bah to the Grandsire Triples, as far as I'm concerned - I've now rung in two failed attempts, both times over 40 minutes. I'm going to count it as "I can ring that" and not bother with any more quarters!

The super-excellent quarter of Kent was dedicated as a birthday quarter for a college buddy (obligatory see-we-did-it photo of the visitor's book, below).


And obviously, when ringers are not ringing, we're EATING. (Or drinking, tea or otherwise). Mostly, it's eating, though.

This was the best Victoria sponge I've ever had. I'm going to have to ask for the recipe. Pardon the half-eaten picture - I was so taken with the cake that I had to photograph it, despite gnawing on it first.


Today we had a Ladies' Guild meeting at Helmingham. It was freezing (Was that it for spring, a few weeks ago? Did we miss it? Srsly?), and the bells were heavier than would have been ideal, but it was nice to ring on 8 with the Laydeeez.


The church is in the grounds of Helmingham Hall, and has numerous Tollemaches buried in and around it. This chap cracked me up - he's reclining along the side of the church, above some pews, with his eyes OPEN, looking like he's waiting for a servant to arrive with a glass of wine and some snacks. Too funny.


Also, this pious lot (note the guy on the second level), kneeling in formation for all eternity. They were a little dusty but otherwise fine. I really liked the skylight in the church (you can see it in the main picture) - it made everything really bright.


I really like how this picture of the Hall came out - I've seen the church from the grounds of the Hall but never the other way 'round!


Friday, April 13, 2012

Urban decay

I thought this building was really interesting - they've boarded up some windows but cinder-blocked out the others.

Monday, April 9, 2012

Another honey cowl

You can't wear a scarf while bell ringing. It's too dangerous, since it could get caught in the rope and strangle you. Not ideal.

However, it is frequently very cold in bell towers. As would be expected, stone buildings with lots of windows are not easy to heat.

I've been wearing my Wintry Cowl a ton this winter - it's warm, a really pretty colour, and seems to go with everything. One of my bell buddies admired it, so I've made her one as a surprise. Thankfully, it's been super cold the last few weeks so she may still get some wear out of it before the summer.

I haven't given it to her yet (and she reads the blog). Hopefully I'll have a chance to give it to her before she reads this. Although she's not going to guess that it's for her...


I picked out a really pretty blue. This was my second third cast on (220 stitches...first one my tail was too short, second one was a moebius strip...not helpful when knitting). Details on Ravelry, for those of you so inclined.

Here it is, folded artistically (um, hi, this was really hard to photograph, since it's a flat strip of fabric).


I hope she likes it!